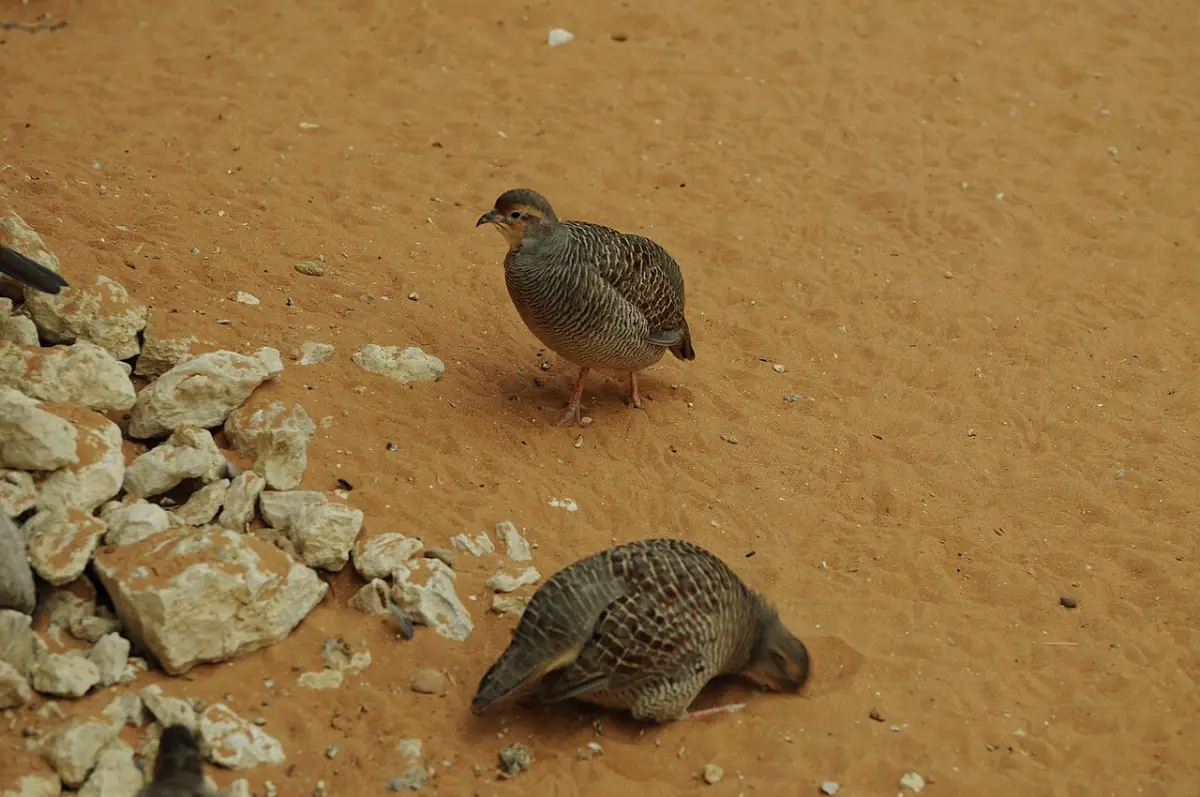
My first diy quail cage was a rabbit hutch with a hole cut in one side and chicken wire stapled over the gap. It held up for about three weeks, until a raccoon reached through the wire one night and I lost two hens. I rebuilt the whole thing that weekend with real hardware cloth, and I have built two more cages since, each one better than the last. If you are thinking about building your own, here is everything I wish someone had told me before I bought the wrong wire the first time.
Why build instead of buy
A basic wire quail cage costs less in materials than almost any premade option, and you can size it to fit a weird corner of a garage or shed that no manufactured cage will ever fit. The tradeoff is your time and whatever mistakes you make along the way, which for me included buying chicken wire twice before I learned it does nothing against a determined raccoon.
If you would rather skip the sawdust entirely, I cover the best premade options, including stacked rollaway systems, in my quail cage buying guide. But if you have a saw, a drill, and a free Saturday, building your own is genuinely not hard.
What you need before you start
- 2x4 lumber for the frame, untreated (quail will occasionally peck at wood, so skip anything chemically treated)
- Half-inch by half-inch hardware cloth, 19 to 23 gauge, enough to cover the floor, walls, and a lid
- Quarter-inch hardware cloth for the bottom 12 to 18 inches of any outdoor run, so snakes and mice cannot get through
- Fencing staples or a staple gun rated for wire, plus fender washers to keep staples from pulling through
- Hinges and a predator-proof latch for the access door
- Wire snips rated for at least 19 gauge wire
- Circular saw or handsaw, drill, tape measure, level, work gloves
 Hardware Cloth, 1/4 in, 48 in x 100 ft, 23 Gauge Hot-dipped galvanized quarter-inch mesh. Good for lining the bottom edge of an outdoor run or building a chick brooder floor where nothing larger than a quarter-inch gap is safe.
Get the dimensions right
I already wrote out the full math in my quail cage size guide, but the short version for a DIY build: figure one square foot of floor space per adult bird on wire, and keep the cage either under 12 inches tall or over 6 feet tall. Anything in between is where a startled quail can build enough speed to hurt itself against the ceiling.
A simple starter build that comes up again and again in backyard quail forums is a 24 by 36 inch footprint at about 10 inches tall, built with a 2x4 frame and half-inch hardware cloth on all sides. That gives you 6 square feet of floor, enough for about six adult hens at the one-square-foot rule, with room to spare.
If you want something bigger and are willing to follow a purchased plan instead of designing from scratch, a two-cage stacked hutch design (roughly 6 feet wide, 4 feet deep, 6.5 feet tall at the roof peak) can house up to 16 quail split across two separate cages. Full materials for a build that size run somewhere in the $500 to $600 range at current lumber and hardware prices, mostly because of the lumber, siding, and roofing, not the wire.
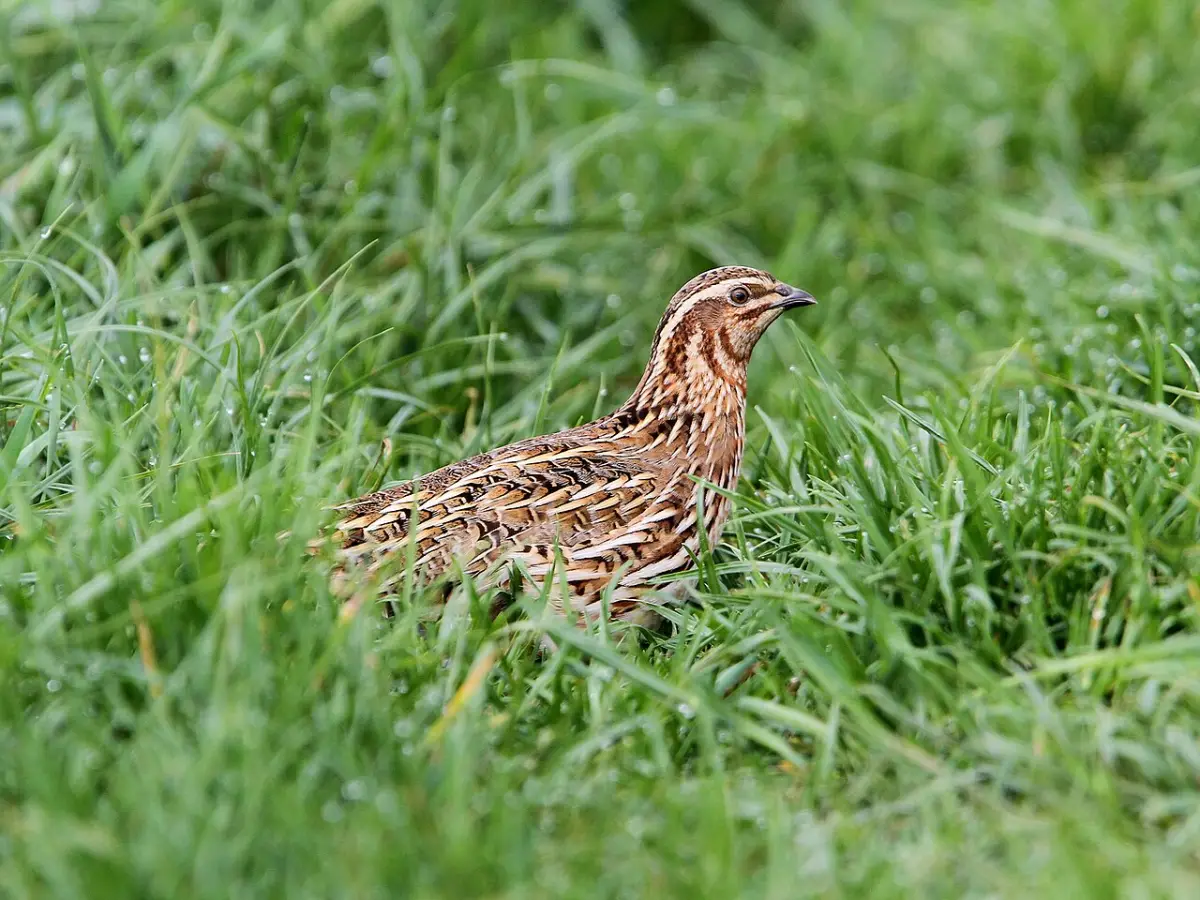
Wire mesh: the part people get wrong
Chicken wire is not quail wire. The gaps are wide enough for a raccoon to reach through and pull a bird partway out, which is exactly what happened to me. Stick with half-inch by half-inch hardware cloth for the walls and floor of an adult cage, in 19 to 23 gauge so it holds its shape and does not sag or tear.
Drop down to quarter-inch mesh for two situations specifically: chick brooders, since day-old quail chicks can slip through half-inch gaps, and the bottom 12 to 18 inches of any outdoor run in areas with snakes. Staple the wire to the frame every 2 to 3 inches, and use fender washers under the staples on any panel that will get regular contact, like a door or a floor a bird stands on all day. Bare staples pull through hardware cloth faster than you would expect.
If you are building a ground pen instead of a raised cage, bury the wire skirting at least 6 inches deep and angled outward, not just stapled to a fence post. Digging predators go under before they try to go through.
Mississippi State University Extension’s game bird space needs research backs up the same floor space math I use for coturnix: give birds more room than the bare minimum and behavior problems drop fast. Their numbers run for bobwhite specifically, but the underlying lesson, that crowding costs you more than a bigger cage does, holds for any quail housing.
Building a basic DIY quail cage, step by step
- Cut and assemble the 2x4 frame first. Build it as a simple box, square corners checked with a level before anything else gets attached.
- Attach the floor wire before the walls. It is much easier to staple hardware cloth flat while the frame is still open on top than to wrestle it into a finished box later.
- Build the walls, leaving one side as a hinged access door. A door big enough to fit your whole arm and a feeder through saves you from disassembling anything later.
- Add a solid or sloped lid. A slanted plywood or corrugated roof sheds rain and gives you a dry spot to set tools, and it doubles as shade in summer.
- Set the cage on legs or blocks above a droppings tray, or place a shallow pan directly under a raised wire floor. Either way, droppings should fall through, not accumulate on the floor the birds stand on.
- Cut feeder and waterer openings last, once you know exactly where your equipment will sit. My cage setup checklist covers everything that has to go inside once the box itself is done.
What it actually costs
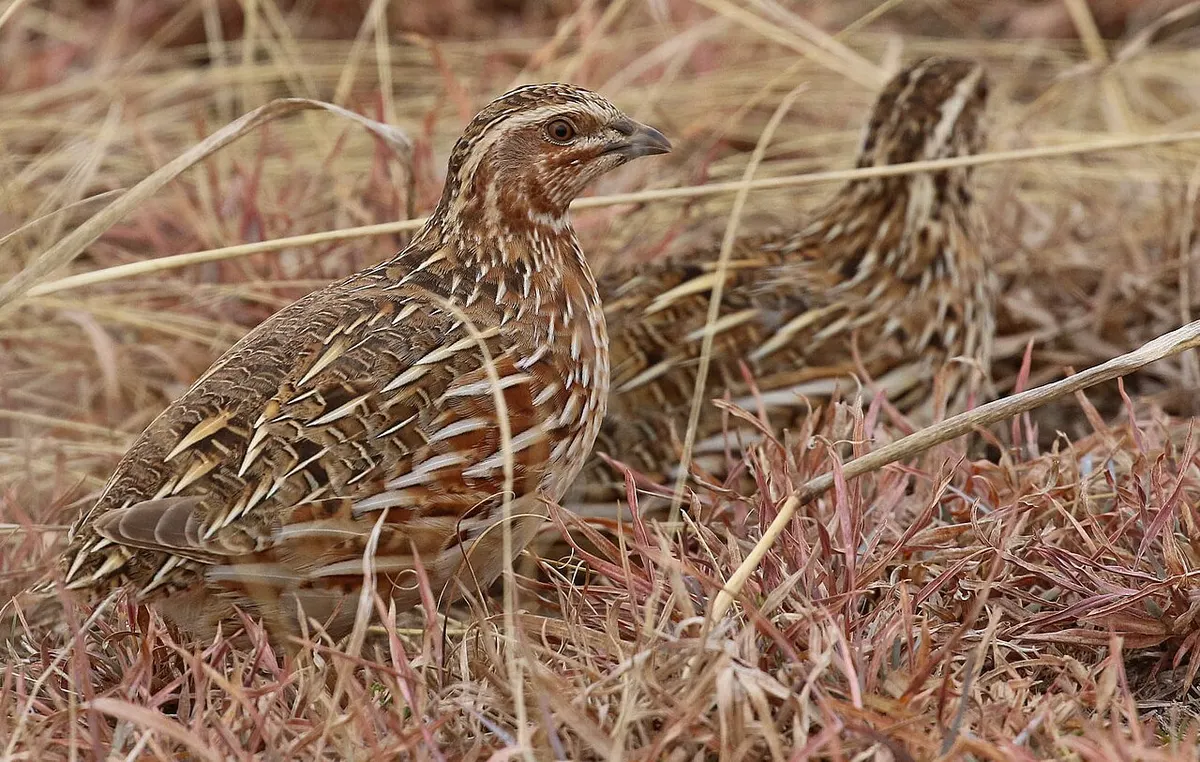
| Build type | Materials cost | Build time | Skill level | Best for |
|---|---|---|---|---|
| Basic wire cage, single tier | $40 to $80 | Half a day | Beginner | Small flocks, tight budgets |
| Purchased plan, stacked wood hutch | $500 to $600 | 2 to 3 days | Intermediate | Anyone wanting a finished, weatherproof structure |
| Premade rollaway cage | $130 to $470+ | Under an hour to assemble | None | Keepers who value time over cost |
The basic wire cage wins on cost every time. The purchased hutch plan wins on finish, weather protection, and not having to guess at joinery if you are newer to building. A premade rollaway wins on time, and honestly on egg collection too, since most roll eggs to a front tray instead of making you hunt around a wire floor by hand.
When buying beats building
I still build my own cages for anything temporary, like a quarantine pen or a grow-out box for chicks aging out of the brooder. For anything permanent that I want to look decent and hold up for years without me re-stapling wire every spring, I have shifted toward premade stacked systems. My roundup of the best quail cages covers the specific models I run now and what they cost compared to building from scratch.
If money is the deciding factor either way, it helps to look at the whole picture of what raising quail costs before you commit to a build size. I break that down in what it actually costs to raise quail.
The quick answers
- Cheapest DIY quail cage: a single-tier 2x4 frame with half-inch hardware cloth, roughly $40 to $80 in materials.
- Wire size: half-inch by half-inch hardware cloth for adults, quarter-inch for chicks and the bottom of outdoor runs.
- Wire gauge: 19 to 23 gauge holds its shape without sagging.
- Floor space: 1 square foot per adult bird on wire, 2 square feet per bird in a ground pen.
- Cage height: under 12 inches or over 6 feet, never in between.
- Full hutch plan build: $500 to $600 in materials, 2 to 3 days of work for a two-cage stacked design housing up to 16 birds.
A well-built diy quail cage will outlast the birds living in it if you get the wire gauge and the predator-proofing right the first time. Get the floor space and door hinges wrong and you will be rebuilding by spring anyway, so measure twice, staple often, and skip the chicken wire.